Lesson 1
Getting acquainted with your guitar
Like you, your guitar has a head, neck and body.
There are a few other parts to the guitar you should know about too.
Strings
There are six of them. We number them from 1 to 6 starting with the thinnest. Each string is attached to a tuning peg.
Tuning Pegs
The tuning pegs are the turning mechanisms on the head of the guitar. Turning a tuning peg clockwise will lower the pitch of its string. Turning the tuning peg anti-clockwise will raise the pitch.
Frets
These are the thin metal strips that run parallel to each other along the neck of the guitar. Pressing a string onto a fret has the effect of shortening its length. A shorter string gives a higher pitch.
Pickups
Pickups are microphones. They are located on the body of the guitar beneath the strings. There are usually two or three pickups and the pickup selector is used to select which pickups you would like to use. Different pickups produce slightly different sounds
Tuning can be difficult. Electronic tuners are cheap and helpful but you may still wish to get your teacher to do this for you at first.
In the early days of learning the guitar it is better to leave your volume and tone set at 10 and to adjust your volume using the control on the amp instead.
Holding your guitar
There are two ways to hold a guitar: the Classical approach and the Contemporary one. Both are equally good.
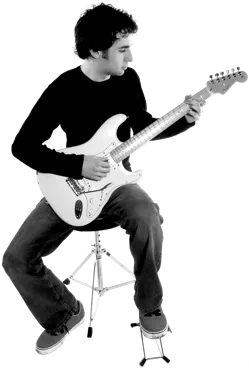
Classical Stance
Place a footstool under your left foot. Place the guitar so that the cut-away rests on your left thigh. The neck should point at a slight angle towards the ceiling and your right arm should come to rest over the far end of the body. The guitar should not tilt towards you but should be held upright on your lap.
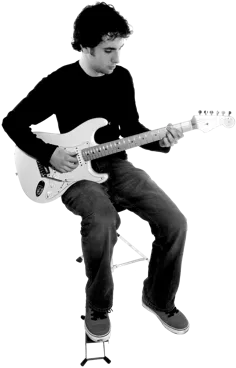
Contemporary Stance
The Contemporary stance is much the same, except the footstool is placed under the right leg and the guitar is also placed on the right leg. The neck does not need to be at quite as much of an angle as before.
If you don't have a footstool a Yellow Pages is a good substitute.
Older or taller guitarists may not need a footstool; instead, many guitarists cross their right leg over their left to achieve a similar position.
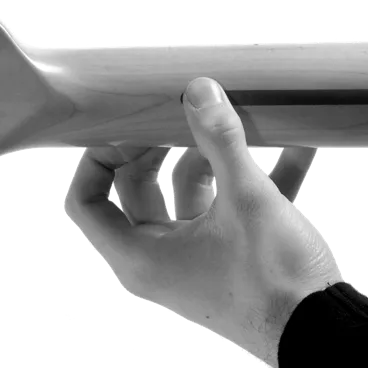
Holding The Plectrum
A plectrum (often called a pick) is a triangular piece of plastic used to pluck the strings.
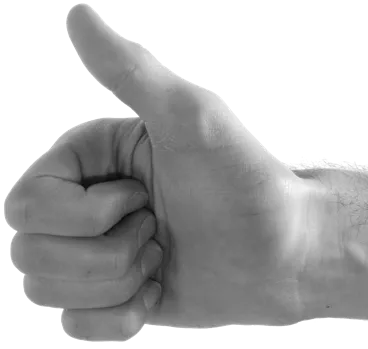
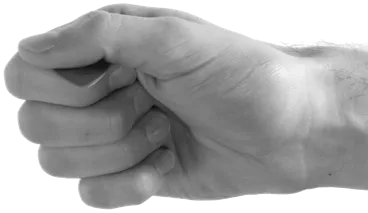
- Hold your right hand parallel to your stomach in a thumbs-up position.
- Now rest the plectrum on top of your fingers with the tip pointing towards you.
- Hold the plectrum in place with your thumb. No more than a centimeter of the plectrum should protrude from beneath your thumb.
Picks come in all shapes and sizes. Thicker picks tend to produce better sound. Anything around 1mm thick is a good choice.

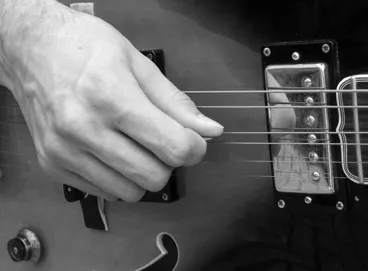
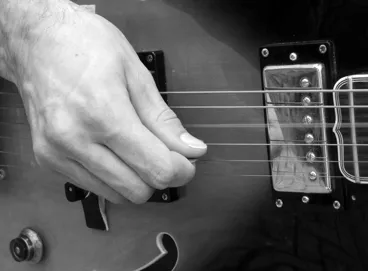
Plucking The Strings
Hold your plectrum over a string. Position it near the centre of the body of the guitar.
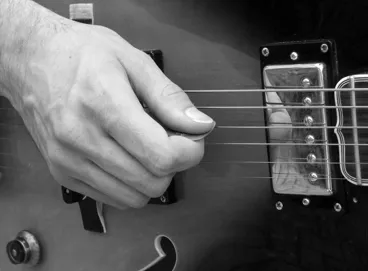
When plucking a string try not to move your hand any more than you need to. Strive for precision and efficiency.
Now push the tip of the plectrum over the string in a downwards motion. The motion should come from twisting your wrist, not from moving your arm.
Now try this simple string picking exercise. You will hear three rhythms played on the first, second and third strings. Listen carefully and then try to copy it. There will be a four beat count-in each time.
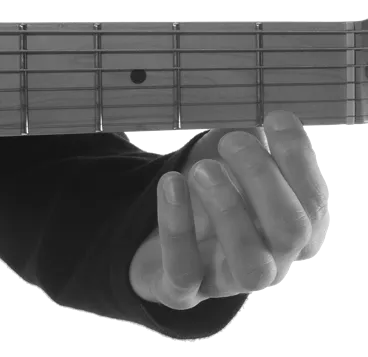
Fretting A Note
We number the frets starting with the fret nearest the head of the guitar.
Many guitars have inlays to make finding certain frets easier.
We number the fingers on our left hand 1 to 4.
Place the tip of your first finger over the top of the first string, close behind the first fret. Push down hard enough for the string to make solid contact with the metal. Your thumb should be positioned approximately halfway down the neck, facing upwards. Now pick the string as before. Notice that the pitch is now higher.
If you experience any buzzing you may not be pushing hard enough with your left hand, or you may have your finger too far away from the fret.
Tablature
Look at the tablature below. Notice it has six horizontal lines. These lines represent the six strings on your guitar. The highest line represents the 1st string. This might not be as you'd expect. It's like we're holding the guitar out upside-down against the page.
Tablature, or TAB for short, is a simple method of reading and writing music that has been used for centuries.
Numbers are used to represent frets. The tablature below says to play the 1st fret. It is written on the first line, which represents the 1st string. Try this now.

A zero written on a line means play that string without placing a finger on it. This is referred to as playing an open string. The tablature below says to play the open 5th string.

Tablature does not tell you which finger to fret a note with. This is left to your discretion. See Chapter 3.